

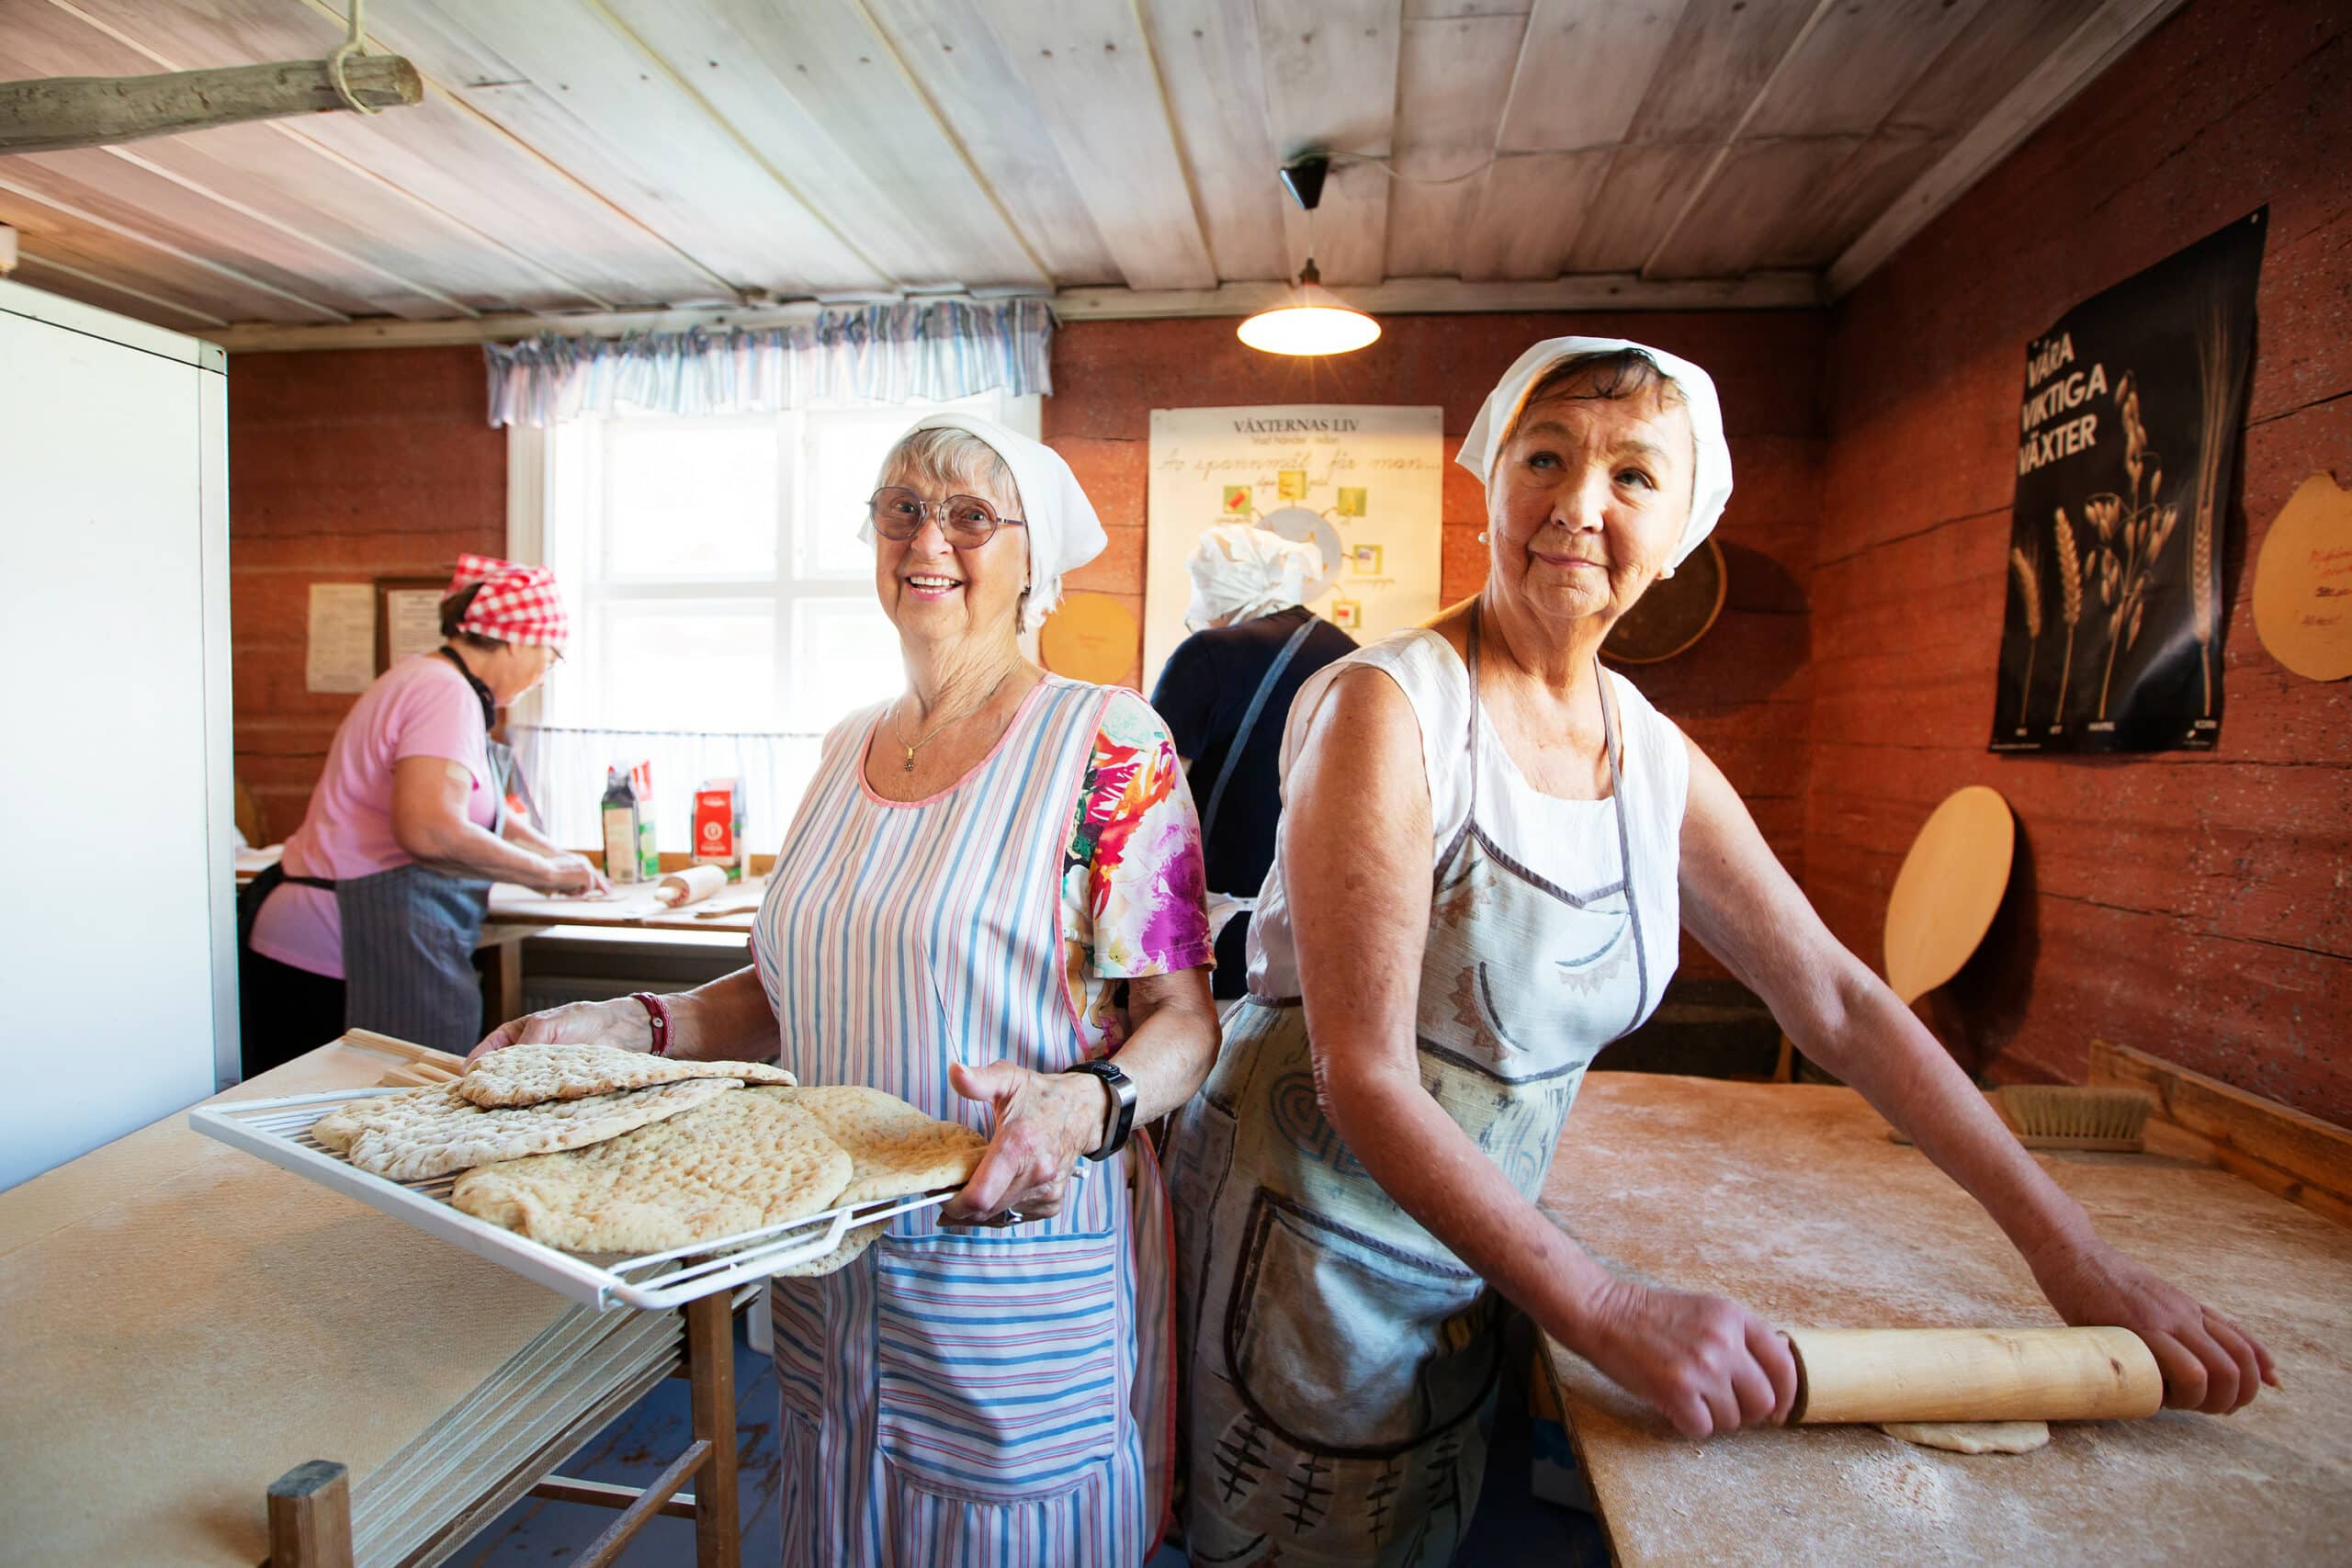
Historically, baker’s cottages represent not only the practical purpose of baking bread, but they were places of knowledge transfer and community cohesion. It was here that generations of baking traditions and local recipes were passed on, and where villagers could gather to share news and stories.
Nowadays, associations in Boden play an important role in preserving these historic buildings and traditions. By restoring and maintaining old baker’s cottages, these associations organize activities such as bread baking and cultural events, helping to preserve and pass on knowledge of the local cultural heritage. There are many baker’s cottages in Boden that can be rented by our local community associations, so try getting in touch and see what options are available near you.
Here are some tips on what is commonly baked in a bakery
- Mjukkaka: A soft, round bread that is popular in Norrbotten and can be flavored with, for example, bread spice or molasses.
- Knäckebröd: A crispy, often rye-based bread, which can be baked in a wood-fired oven.
- Sourdough bread: A bread that requires a longer fermentation time and is well suited to the bakering cottages where it is easier to control temperatures.
- Homemade farmhouse bread: nutritious and sustainable bread suitable for baking in large batches.
- Pizza: It’s great to bake pizza in the oven, take different pizza toppings with you and make pizza for lunch as a welcome break from baking.
Recipe for Soft Cake (mjukkaka)
Mjukkaka is a northern tradition and a favorite of many people in Boden, many even claim that the best mjukkaka is the one baked in a wood oven.
1,5 liter of milk
2 packages of fresh yeast (for bread not sweet doughs)
Half a bottle of light molasses
2 teaspoon salt
150 grams of butter or margarine
bread spice if you want a spicier taste
1 kilogram sifted rye-flour
1 kilogram wheat flour
Instructions:
- Melt the butter or margarine.
- Pour in the milk. Allow the mixture to become finger warm (you stick your finger into the mixture and when the tempature feels the same as your finger, it’s ready) Crumble the yeast into the milk mixture. Add the molasses and salt. Stir until the yeast dissolves.
- Now it’s time for all the rye flour and 6 deciliter of the wheat flour. Work the dough smoothly using the remaining wheat flour, you may not need all the flour, try to feel the dough. When you can slip your finger into the dough and it doesn’t stick, it’s good. Then leave the dough in a warm place in the bowl to double in size, about 30 minutes.
- Place the dough on a floured board. Knead it smoothly. Divide the dough into equal-sized pieces. Keep in mind that you should roll them out into about 20 cm round cakes. Roll out the cookies and then use a rolling pin. If you don’t have one, use a regular rolling pin and prick tightly with a fork before setting the cakes aside to rise for about 15 minutes on the baking sheet.
- Then bake the cakes in the stone oven.
- Allow the soft cakes to cool and place on top of each other under a baking sheet to cool completely.
Wood-fired baking oven
Using a wood-fired baking oven in a baker’s cottages requires some knowledge and preparation. In most cases, you can ask the local community association how to do this or there are instructions in the baker’s cottage. Here are some basic steps:
- Prepare firewood and oven: Make sure you have enough dry firewood. The wood stove should be clean of ash and soot to ensure even heat distribution and to avoid smoke formation.
- Light the fire: Place small pieces of wood and kindling (such as newspaper or kindling) in the center of the oven and light the fire. When the fire starts to burn properly, you can add larger logs.
- Heating: Let the fire burn until the interior of the oven reaches the desired temperature. This can take anywhere from one hour to several hours depending on the size and insulation of the oven. Use an oven thermometer to measure the temperature.
- Even out the heat: Before baking, spread the embers evenly across the bottom of the oven or move it to the side depending on what you’re baking and the type of heat required.
- Baking: Place your pastry in the oven. The time and temperature will vary depending on what you are baking. Typically, a wood oven is used for bread and food that benefits from an even and high heat.
- Aftercare: When you have finished baking and the oven has cooled down, clean it of ash and any food residue. This is important to maintain the oven and to ensure good hygiene.
Remember that every wood-burning oven is unique, so it may take some experimentation to learn how your specific oven works best.